
Omega Seamaster Restoration - 1972 / Cal 1022
Its been a little while since i last worked on a Seamaster and its always both a challenge and a pleasure, this example was no exception as the state of the movement was unknown. It was clear from the outset the casing had seen a lot of use and wear, including at some point what looked to be a poor polishing job which had left a nasty over polished look to what was once supposed to be satin & polish finish.
Without setting to work on the movement it was clear the casing and bracelet were going to require substantial work to get the watch looking anywhere near as originally intended, luckily for me i like a challenge. So without further a do lets get to the meat of the watch and get that movement out :)
Without setting to work on the movement it was clear the casing and bracelet were going to require substantial work to get the watch looking anywhere near as originally intended, luckily for me i like a challenge. So without further a do lets get to the meat of the watch and get that movement out :)
Original State
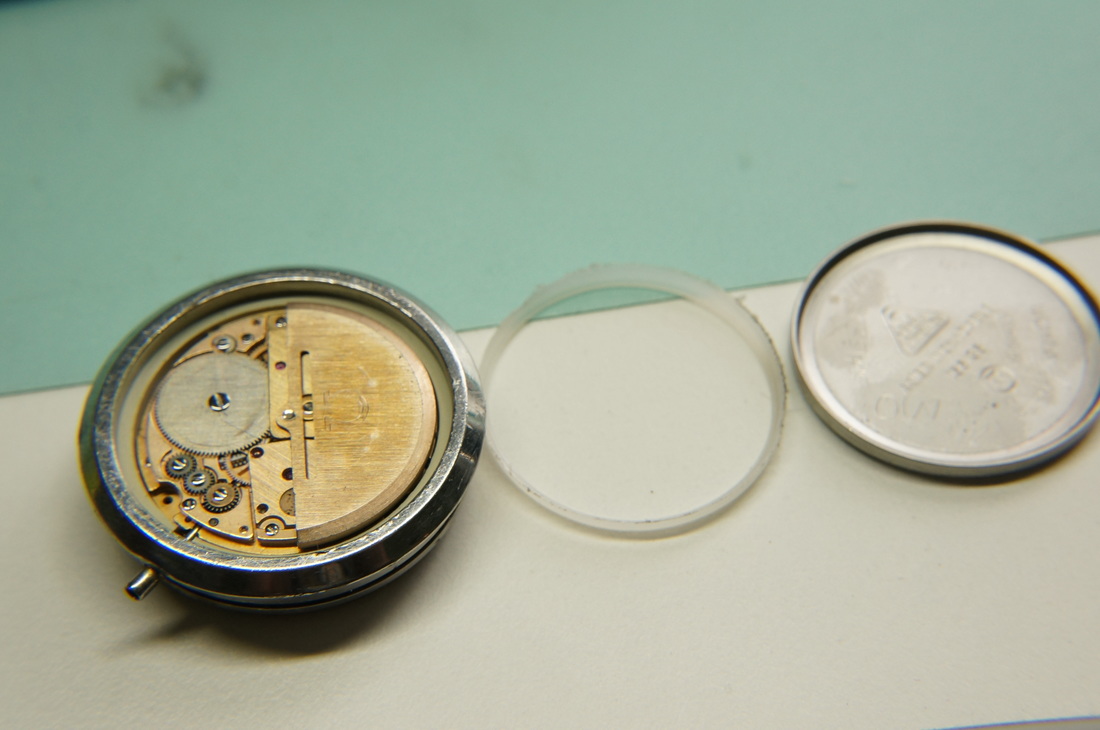
From the start it was clear this Omega had been the victim of a rather nasty drop which had caused a large chunk of the glass to fly off into the unknown. My initial concern was the balance being smashed to pieces as this is a very costly part to replace, but only once i can get inside the module will i find that out, so a strip down is the first step..
As can be seen in the photos there is a lot of gunk and debris surrounding the module as well as small pieces of shattered glass, hopefully none of this made it inside to the movement. The casing and bracelet also is clearly not looking too good :(
Getting access to the movement is usually through the process of forcing air inside the module ( after removing the split stem of course ) and popping the back off, however with such a large hole in the glass that air is going to escape. With limited options and brute force out of the question i set the module up very carefully on my lathe to gently work away at the rear gasket from the out side. This may seem a strange method of attack but by using a fine and sharp point tool bit and removing 50% of the gasket this reduces the amount of force required to pop the back off. Sure enough with a second attempt the rear casing came off along with the glass ( which was already weakened ), so now access to the movement is possible.
Getting access to the movement is usually through the process of forcing air inside the module ( after removing the split stem of course ) and popping the back off, however with such a large hole in the glass that air is going to escape. With limited options and brute force out of the question i set the module up very carefully on my lathe to gently work away at the rear gasket from the out side. This may seem a strange method of attack but by using a fine and sharp point tool bit and removing 50% of the gasket this reduces the amount of force required to pop the back off. Sure enough with a second attempt the rear casing came off along with the glass ( which was already weakened ), so now access to the movement is possible.
Movement - Cal 1022 / 23 Jewel
With the module now apart the movement can gently and carefully be removed. The movement is held in place by a metal ring and as well as front glass gasket which also holds the bezel ring, this requires gentle but forceful pressure to remove. In the below photo you can see the white coloured rear gasket is half the original size which helped greatly in removing the rear casing. Also just out of focus the various watchmakers marks inside the back casing, shows at the very least it did have some attention during its life but marking a watch in any form is not something i personally do.
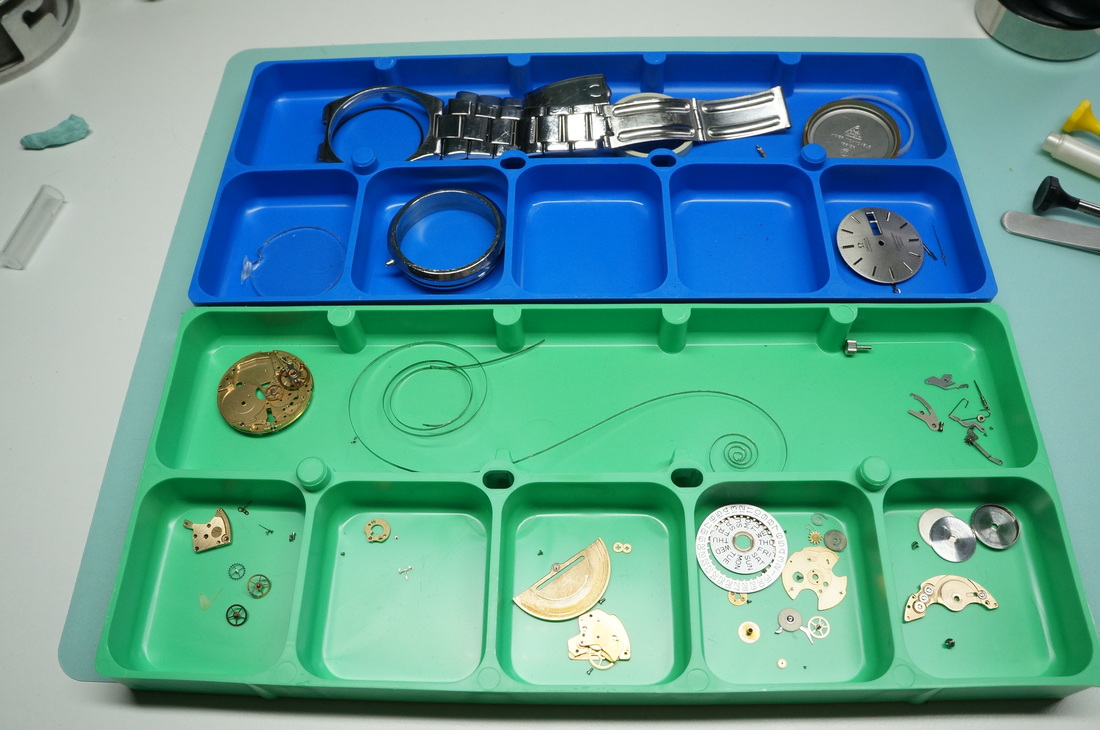
With the movement released it was time to break her down for cleaning, luckily after a short wind the movement sprung into life albeit with poor timing ( nothing that can't be remedied ). Below is the breakdown of the movement in series of order :)
With the movement stripped the parts are laid out in trays ready for inspection before cleaning.
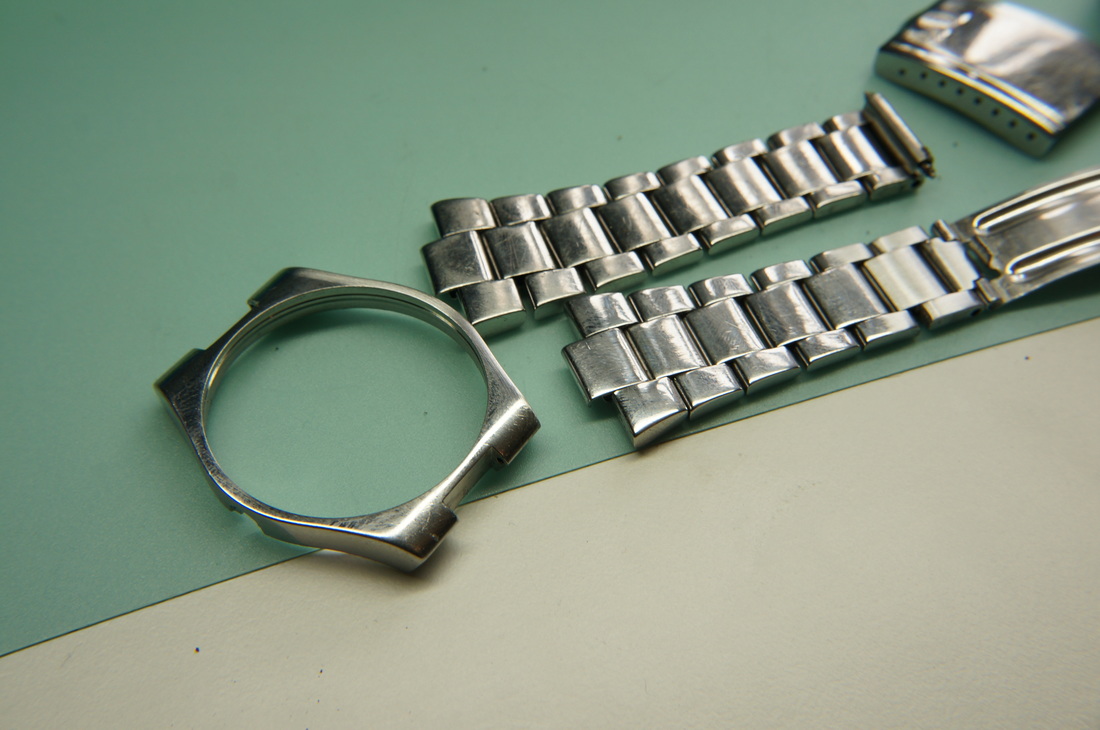
Casing & Bracelet
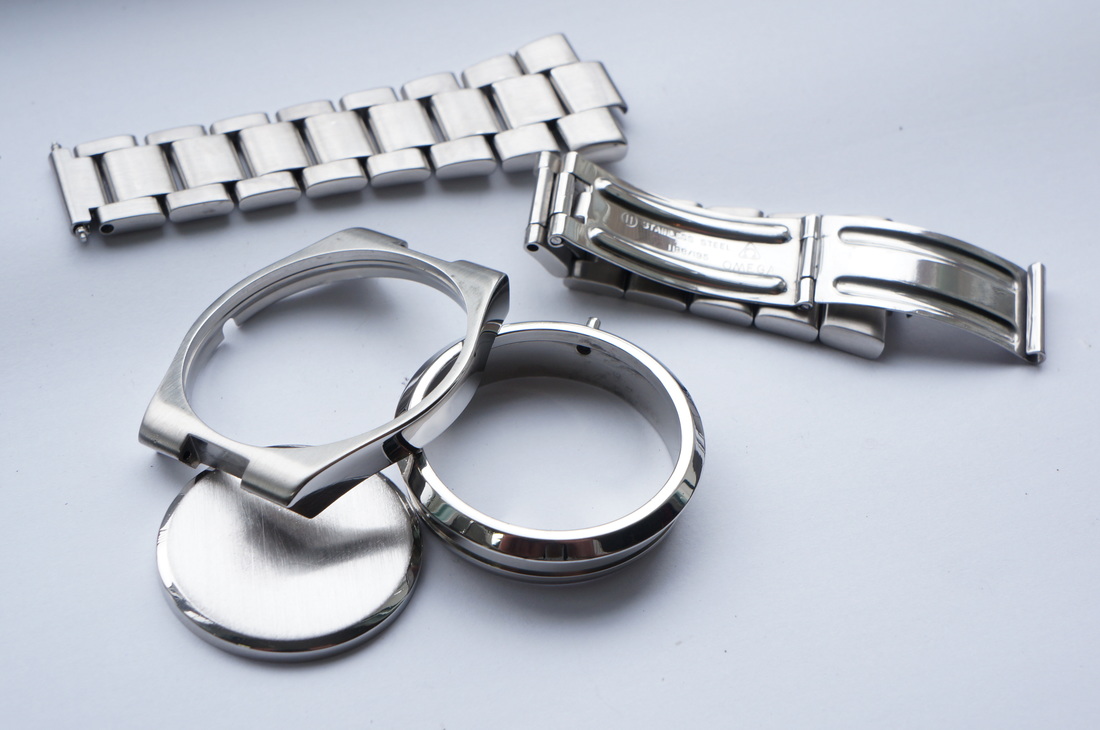
Whilst the movement is being cleaned i set to work on the casing and bracelet. Overall the casing and bracelet took about 3 days work, what is not covered in photos is the careful hand work done to remove damage before buffing and polishing. When buffing and polishing it is only 1% polishing and 99% buffing work that gets the desired results, however satin finishing is something i do by hand, although not as accurate as machined work the result is quite good. The most important part of the buff & polish stages is to thoroughly clean the parts between each stage, thank goodness for ultrasonic cleaners :) Below is the result just prior to final finishing, already we can see a massive difference, under that is the comparison photos....
Before & After
|
|
Seamaster Cosmic 2000 - Restored
Nothing quite as satisfying as a watch finished and back on form, despite my poor photography i think the photos speak for themselves, enjoy :)